PHONOPREAMPS.COM
Technolink TC-780i Online Manual
Clicking on most images contained on this page will yield larger versions.
| TC-780i Applications and Usage
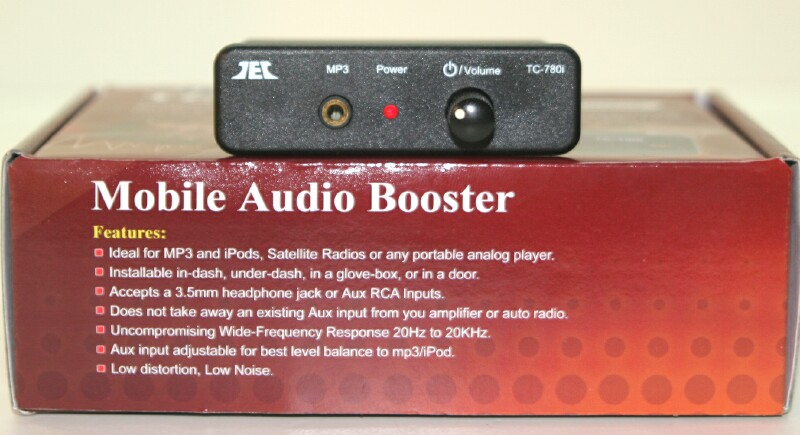
The TC-780i is a small (3" x 1.75" x .75") stereo line amplifier
designed for either mobile or home use. Most users will use it
to connect a MP3 player, iPod or other portable audio player to an
existing auto or home stereo. Doing so is simply a matter of plugging
the player into the front panel jack, and adjusting the level control
for best balance. Because the TC-780i provides considerable gain,
it can correct level mismatch issues that often cause portable players
to be lower in volume than other sources. A second rear panel
input (selected automatically when nothing is plugged into the front
input) allows the TC-780i to be used even in situations where all
available inputs are already occupied. The mobile installation
hardware included allows mounting either over, under or in most
dashboards. The underdash bracket can also be used to attach to a
in-home stereo cabinet or entertainment center, or the TC-780i can
simply be set on a shelf.
|
Powering the TC-780i
The TC-780i runs on 12VDC supplied via a jack on its rear panel; a LED
indicator lights when power is applied. A fused harness with matching
plug is provided for in-car use; an optional AC adaptor (the same type
that powers our phono preamps) allows in-home use. Although the level
control also serves as a power switch, most mobile users will want to
wire the TC-780i so that power is controlled by the car stereo's
on/off switch. Home users may be able to plug the TC-780i's AC adaptor
into a available switched AC outlet on the stereo's rear panel; this
arrangement allows the TC-780i to go on and off with the stereo's power
switch. See the connection diagrams provided below for more detail.
|
| Home Stereo Connection / Installation \ 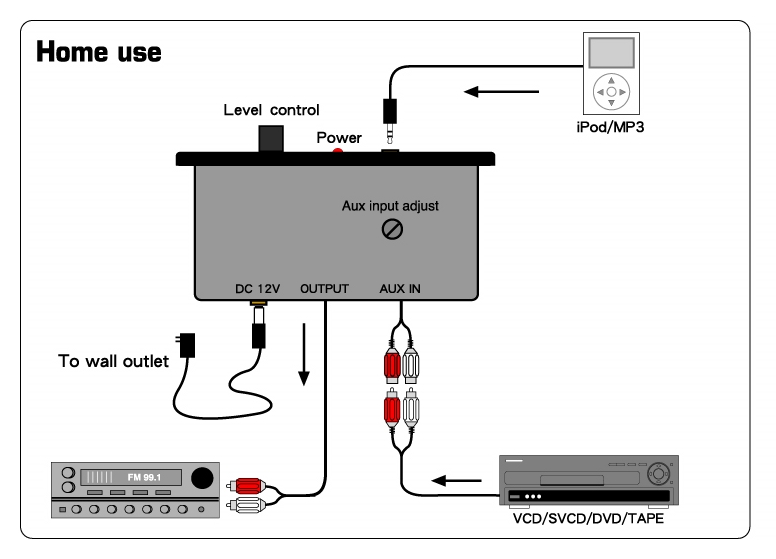 Always turn all equipment off before making connections. The TC-780i can be used with any stereo, home theatre system, mini-system or other amplifier that has a line input, whether currently in use or not. Plug the TC-780i's output cable into any of the following inputs; AUX, CD, TAPE PLAY, TAPE MONITOR, TUNER, MD (mini-disc), DAT (digital audio tape), LINE, VCR, VIDEO, DVD, TV, SAT (satellite). Do NOT use PHONO. If the input has a third (usually yellow) jack for video, simply leave it empty. If you need to use an input which already has a source connected to it, plug this source instead into the TC-780i's rear input pigtail cord. Finally, plug the AC adaptor first into the TC-780i and then into a wall outlet. There is no home "installation" required, although the underdash bracket can certainly be used to firmly attach the TC-780i to a shelf or entertainment center. Double-stick tape or velcro are other mounting options if using screws is impractical. Below is a TC-780i shown permanently installed using the bracket provided, and in use with a Kenwood portable mini-disc player routed thru the video input of a Pioneer receiver. 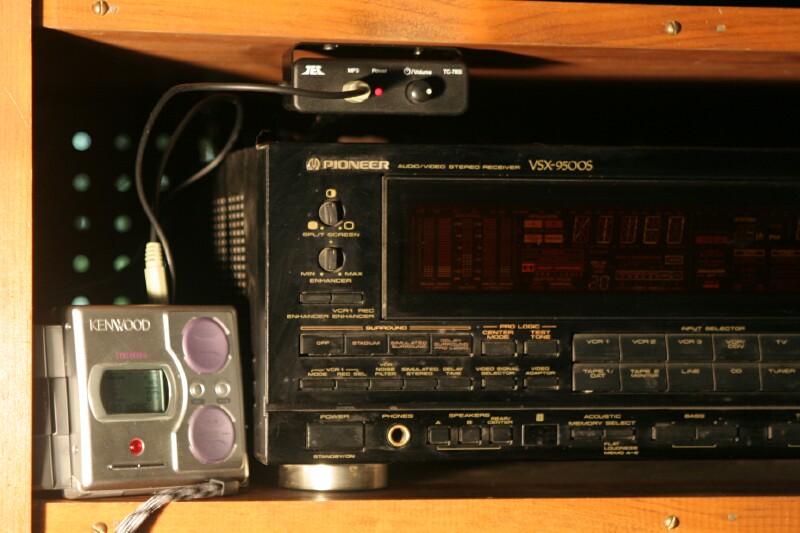 |
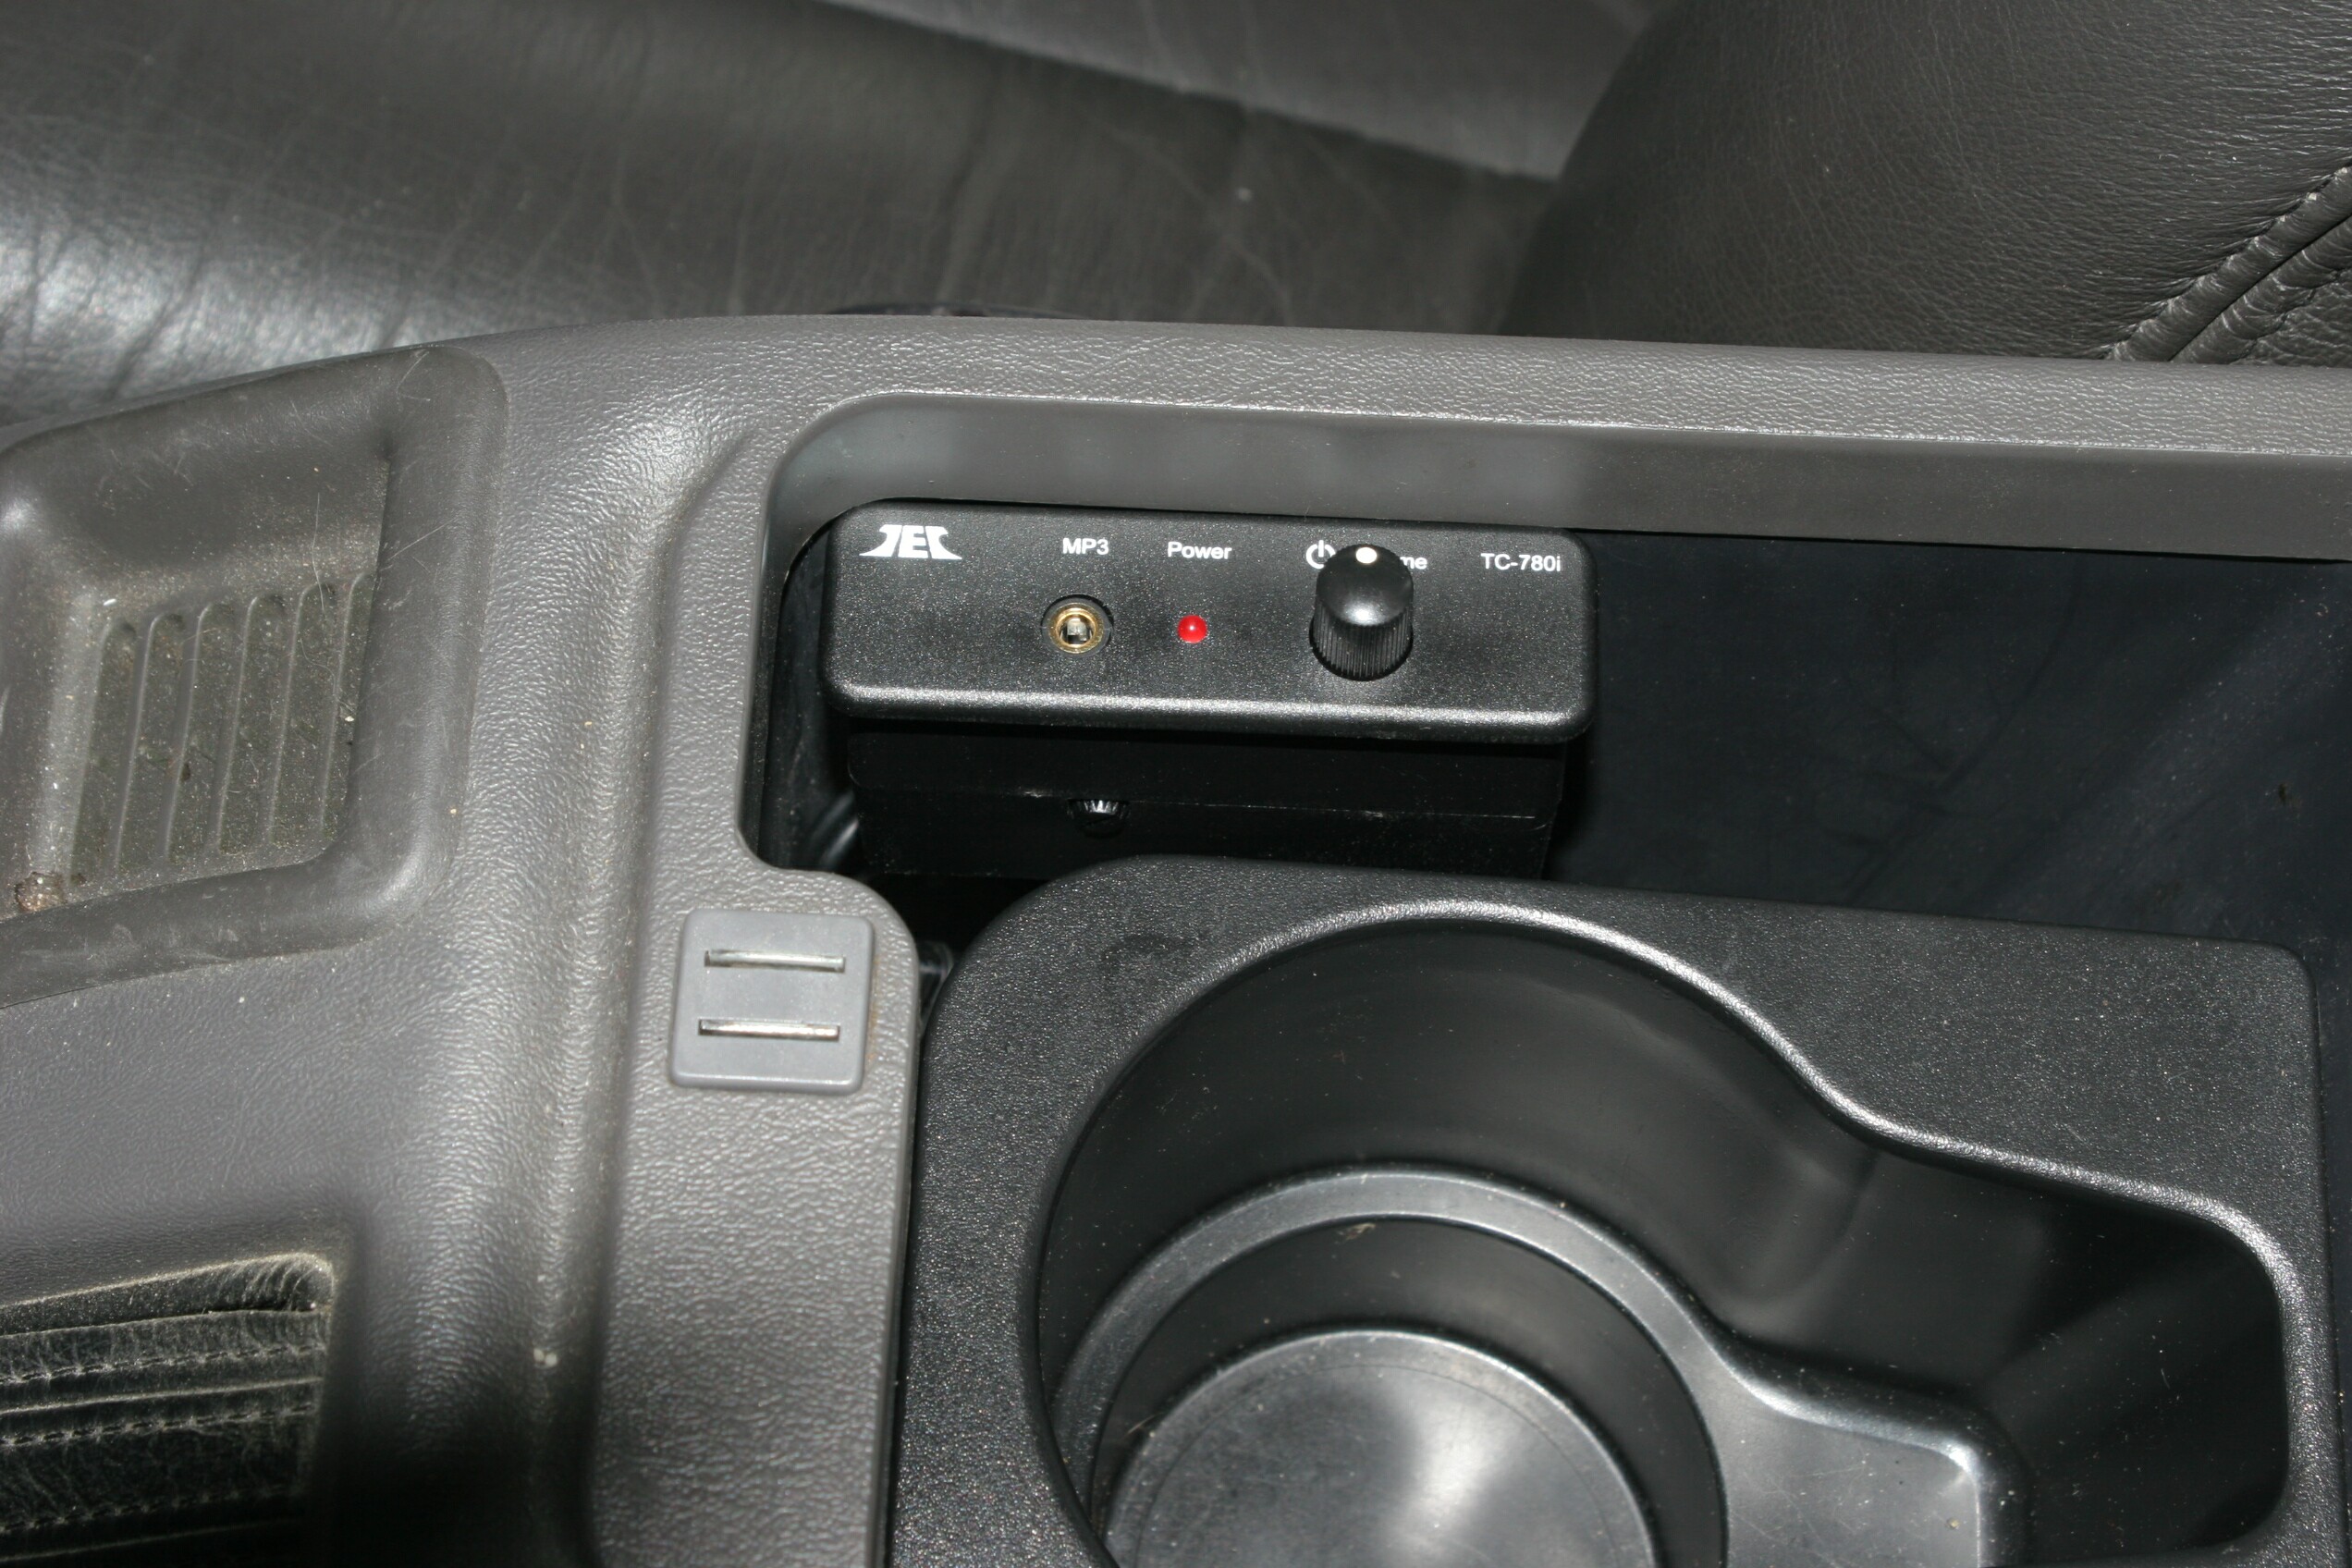
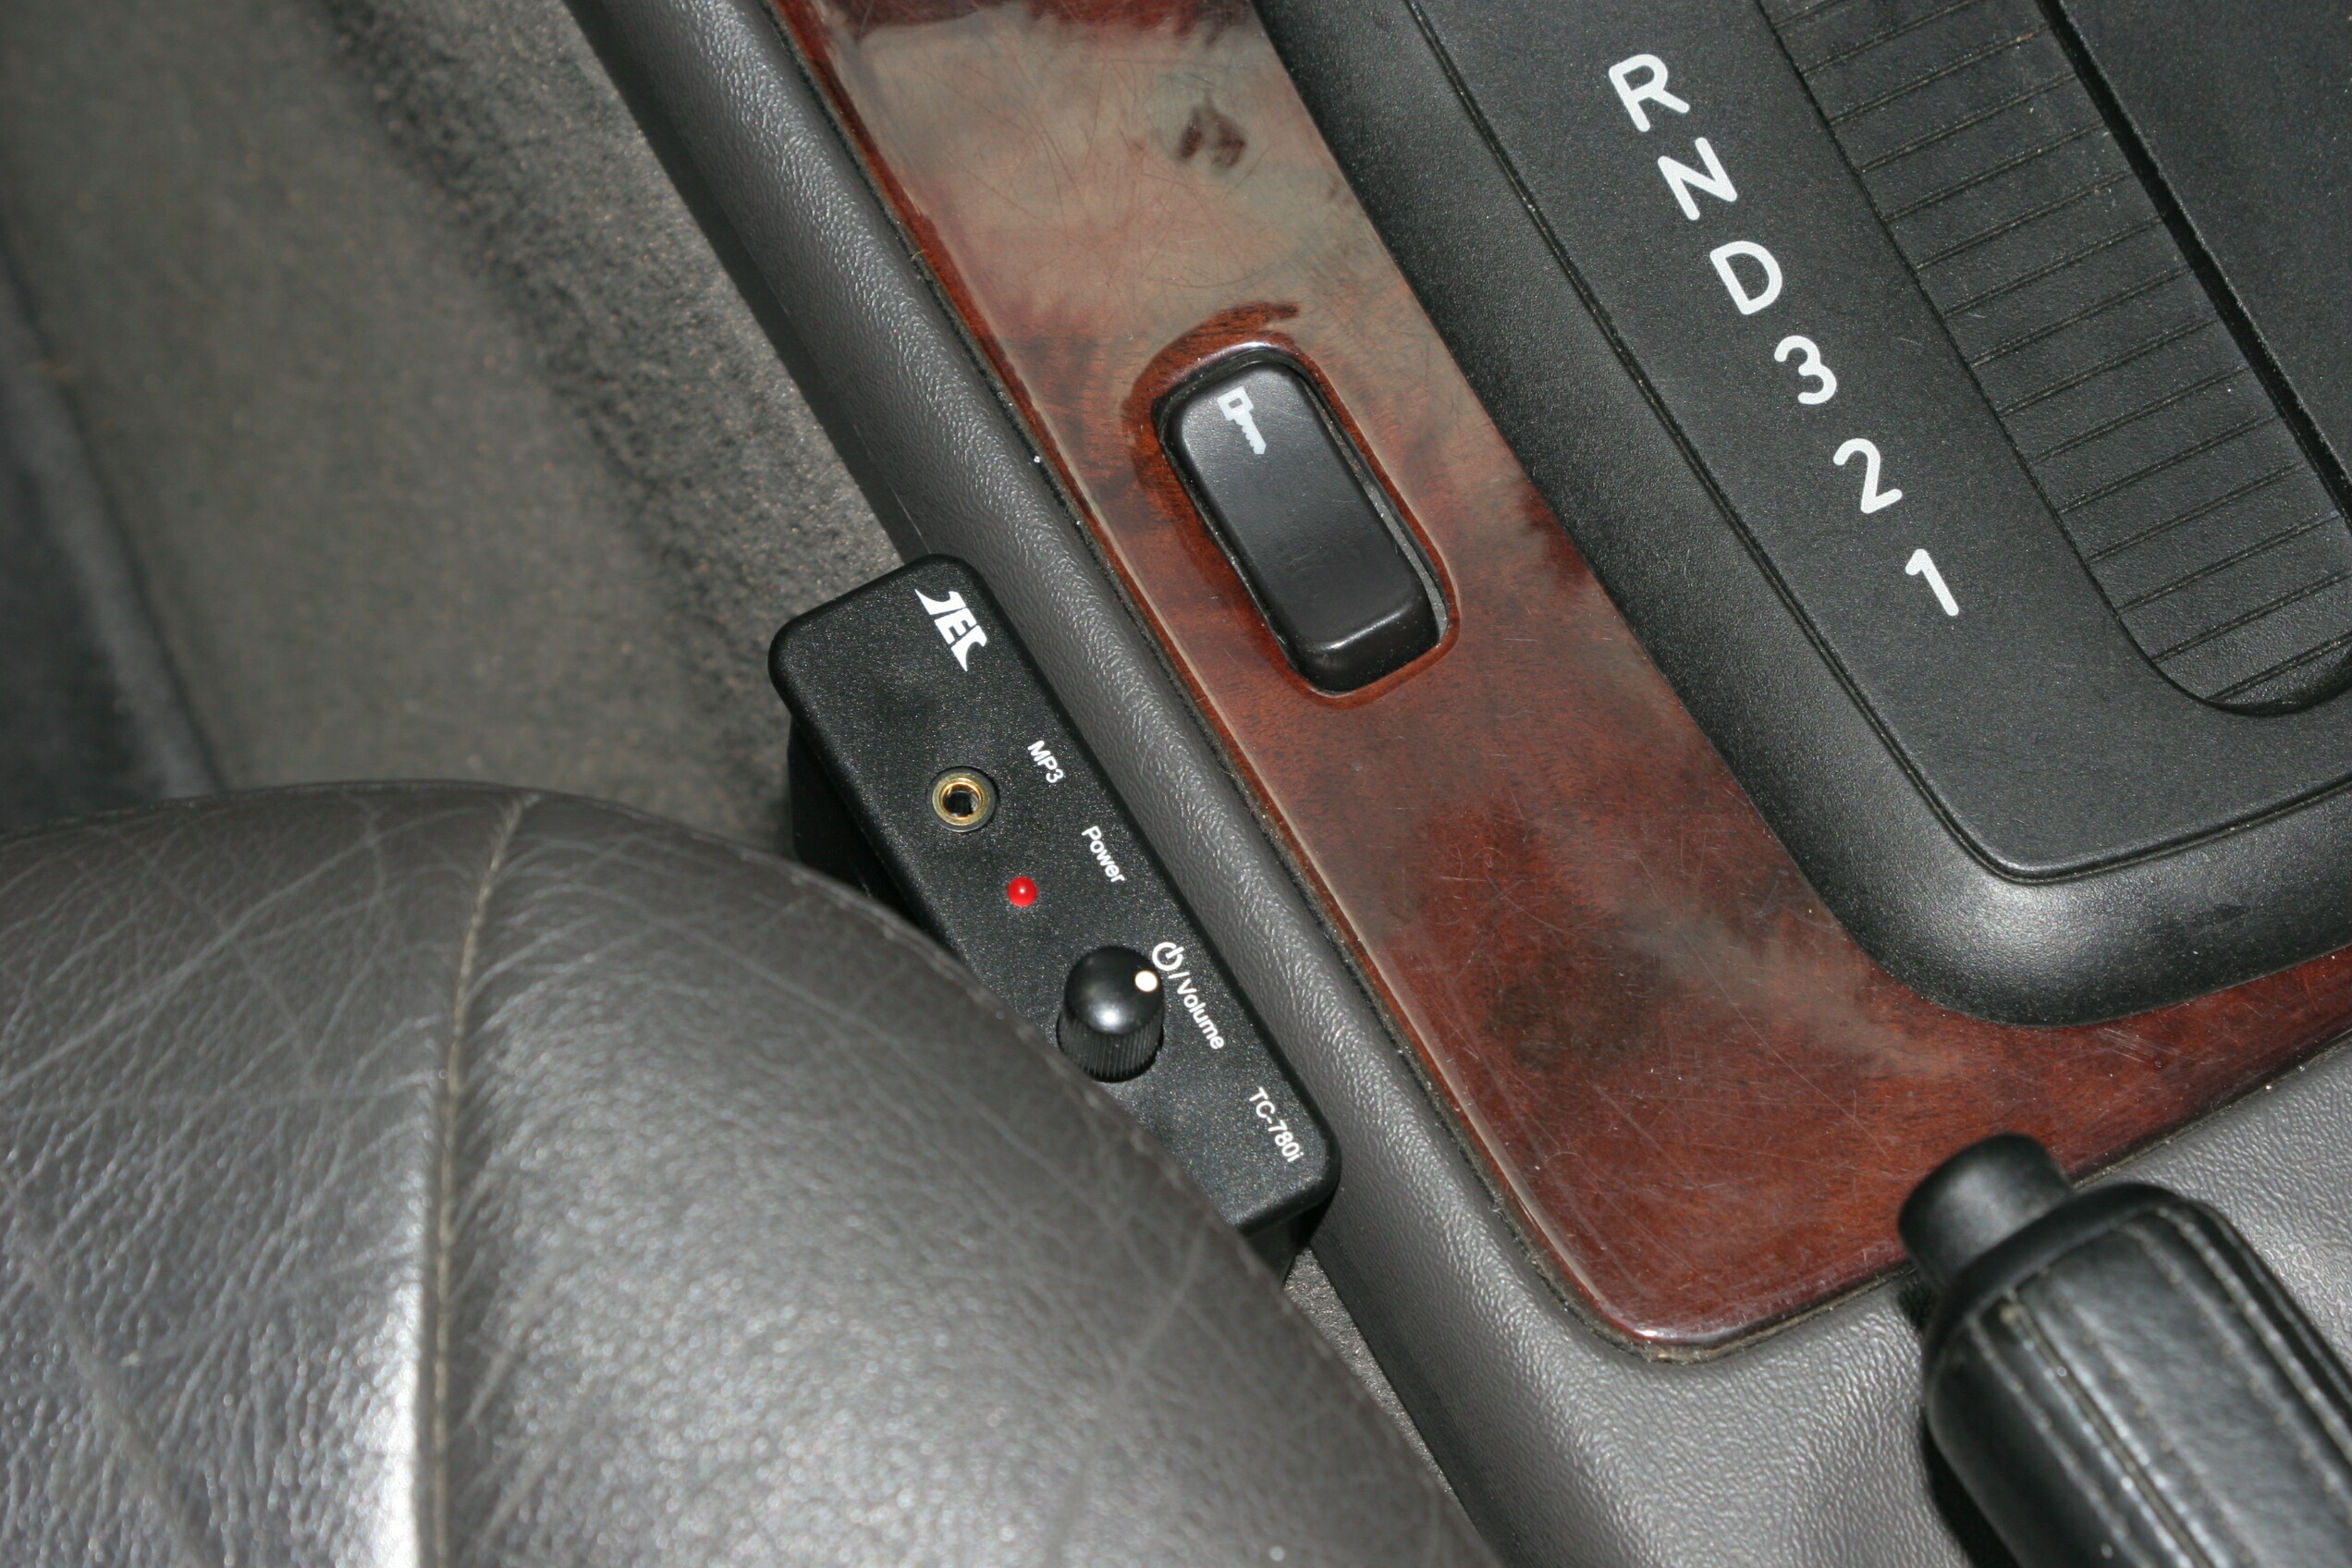
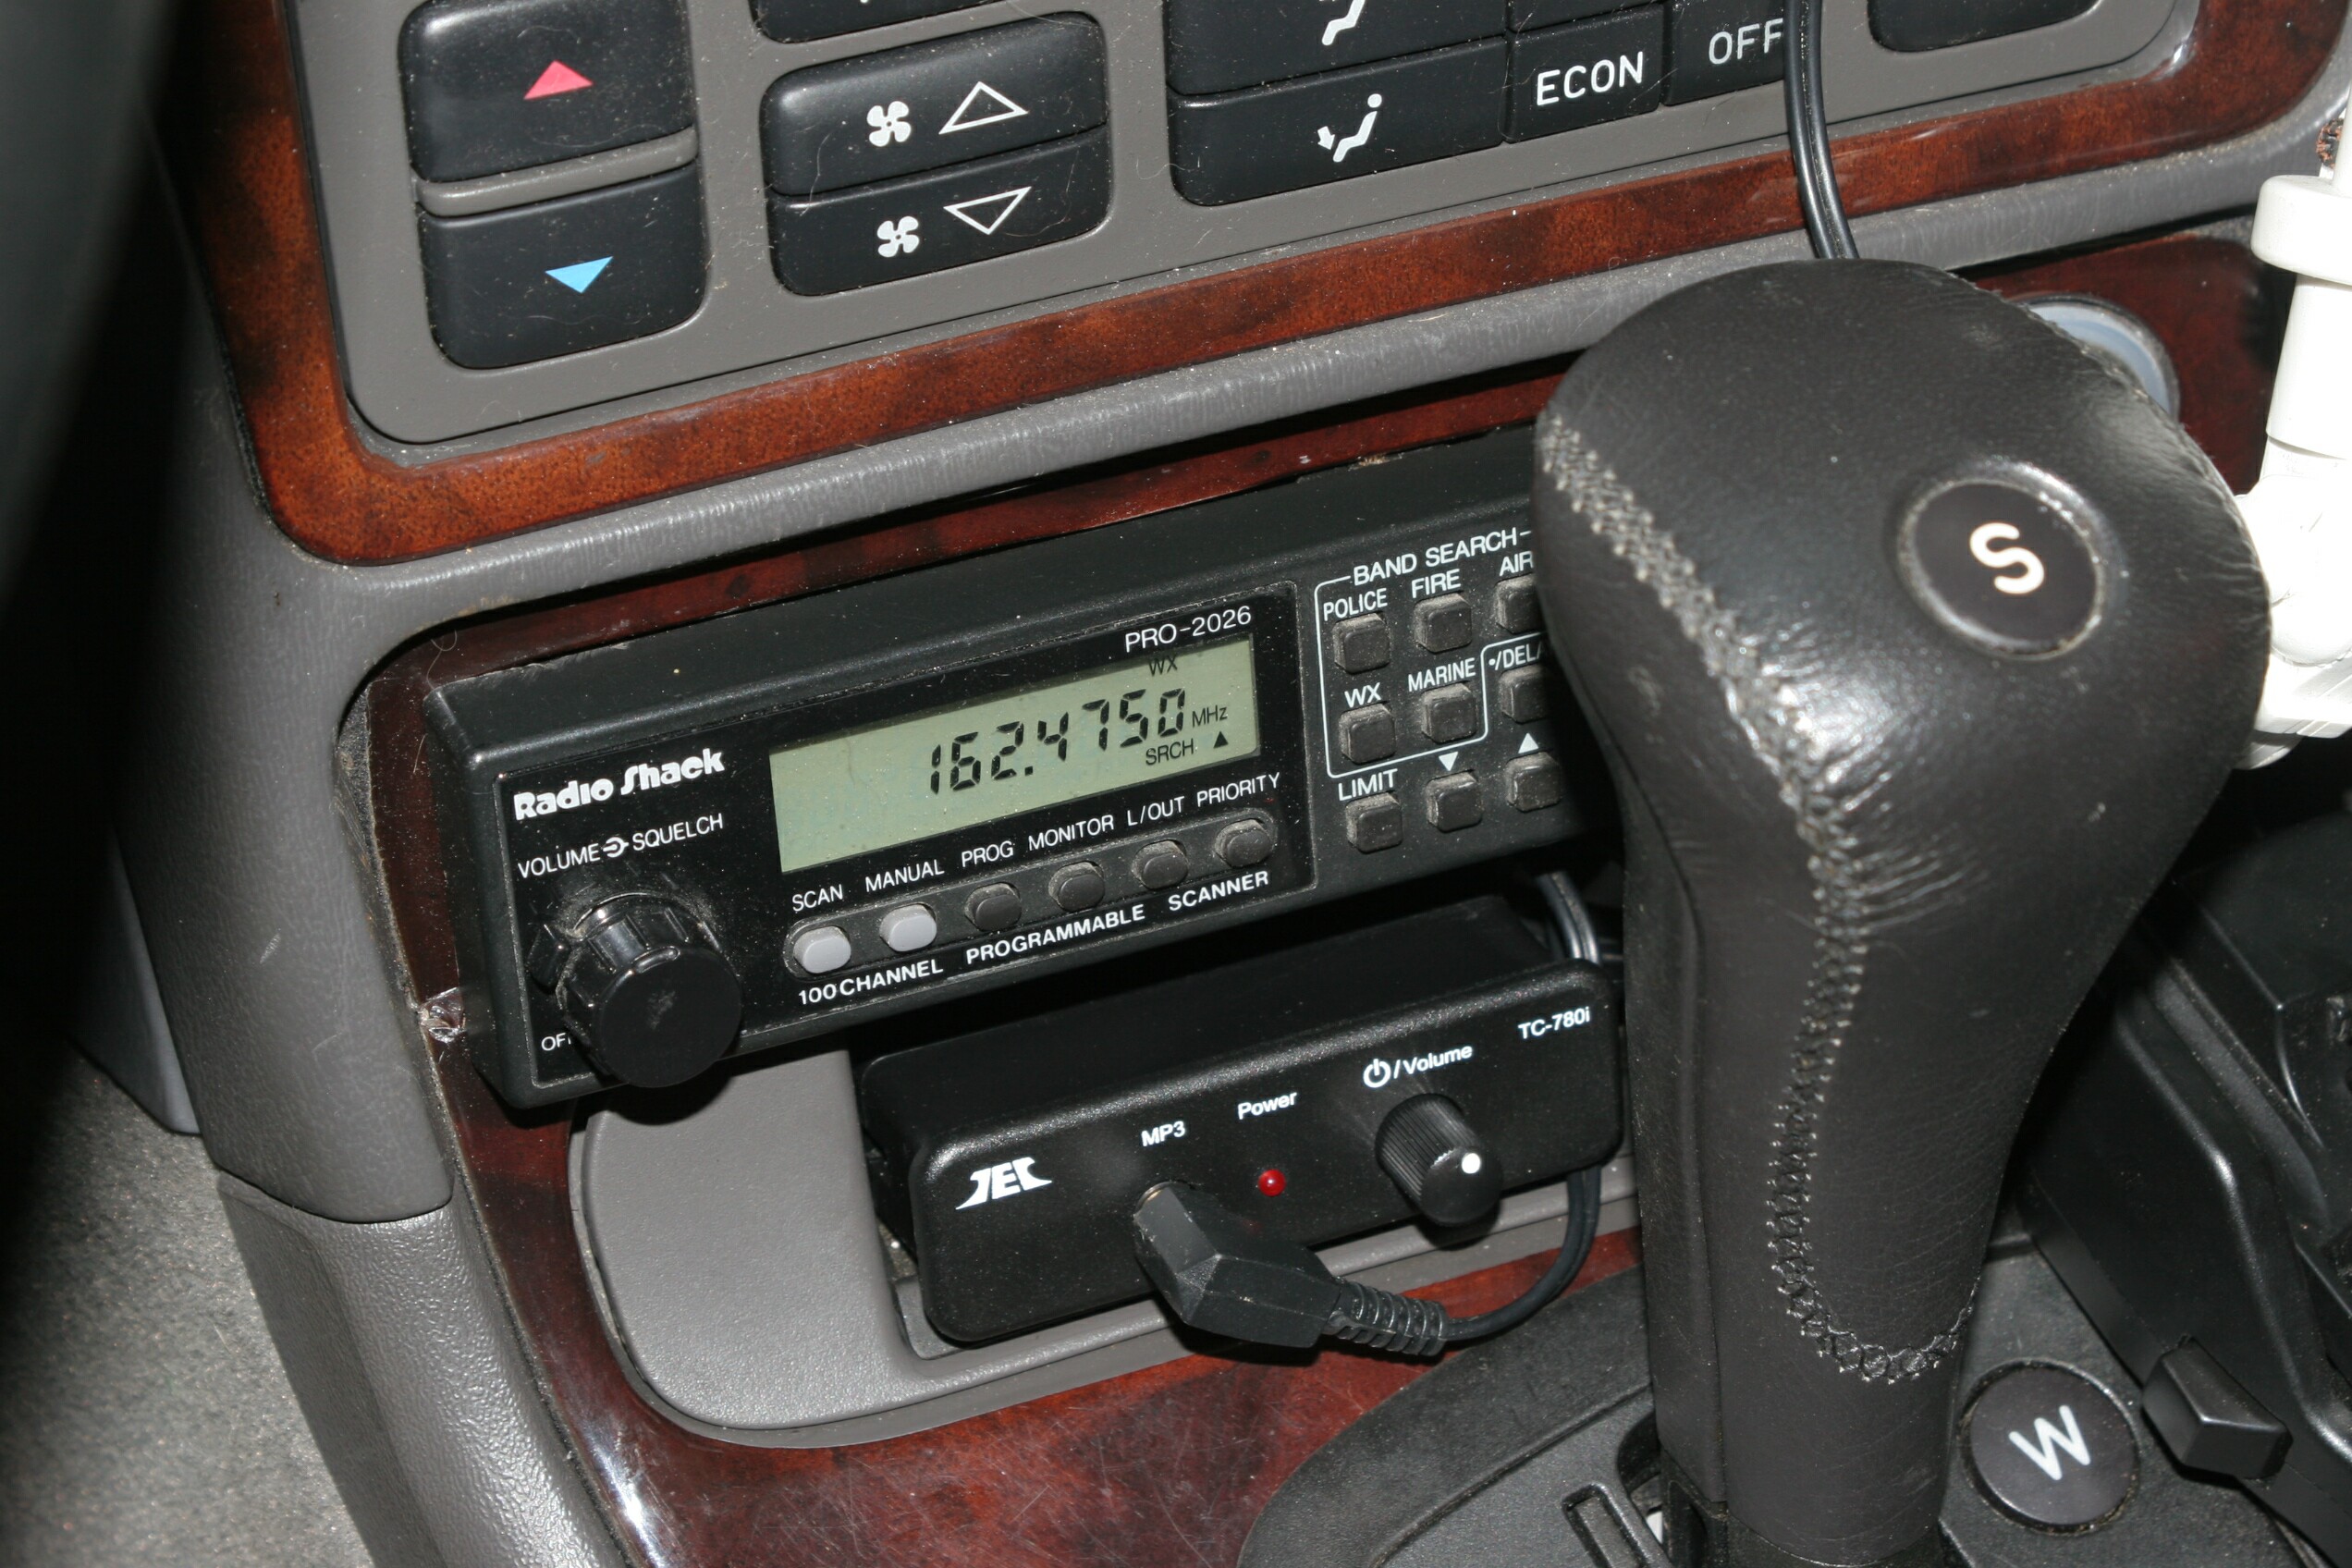
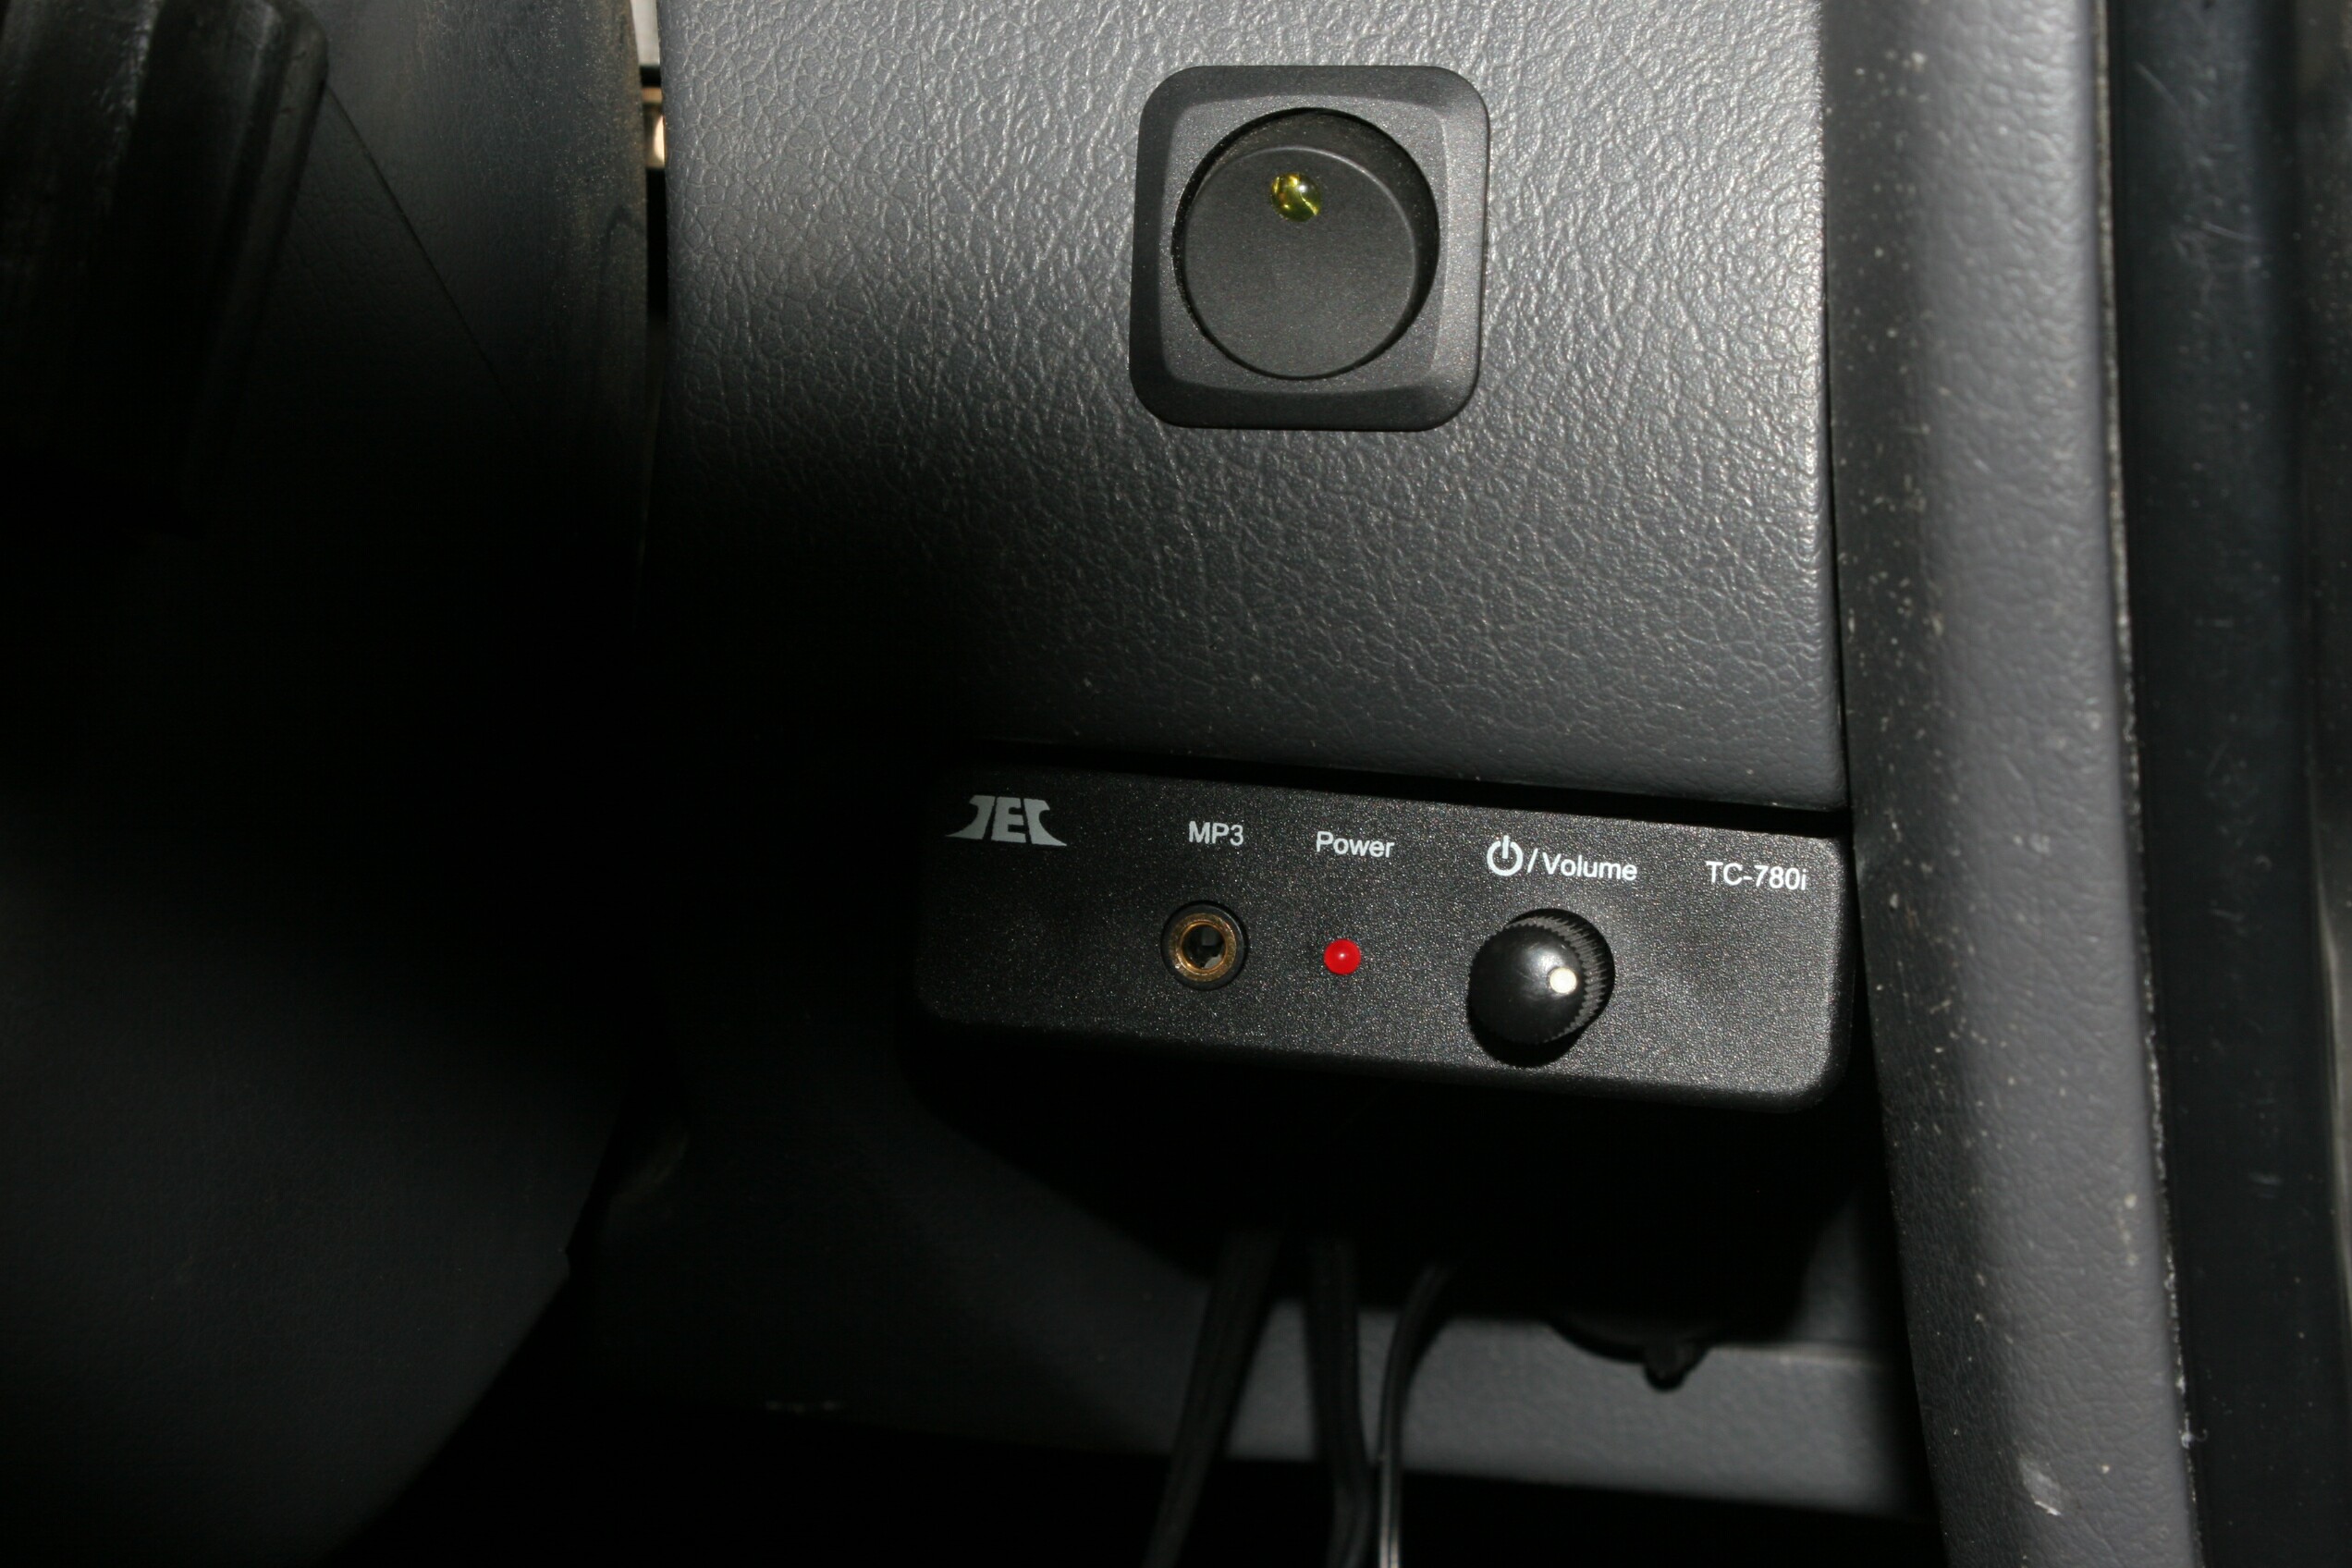
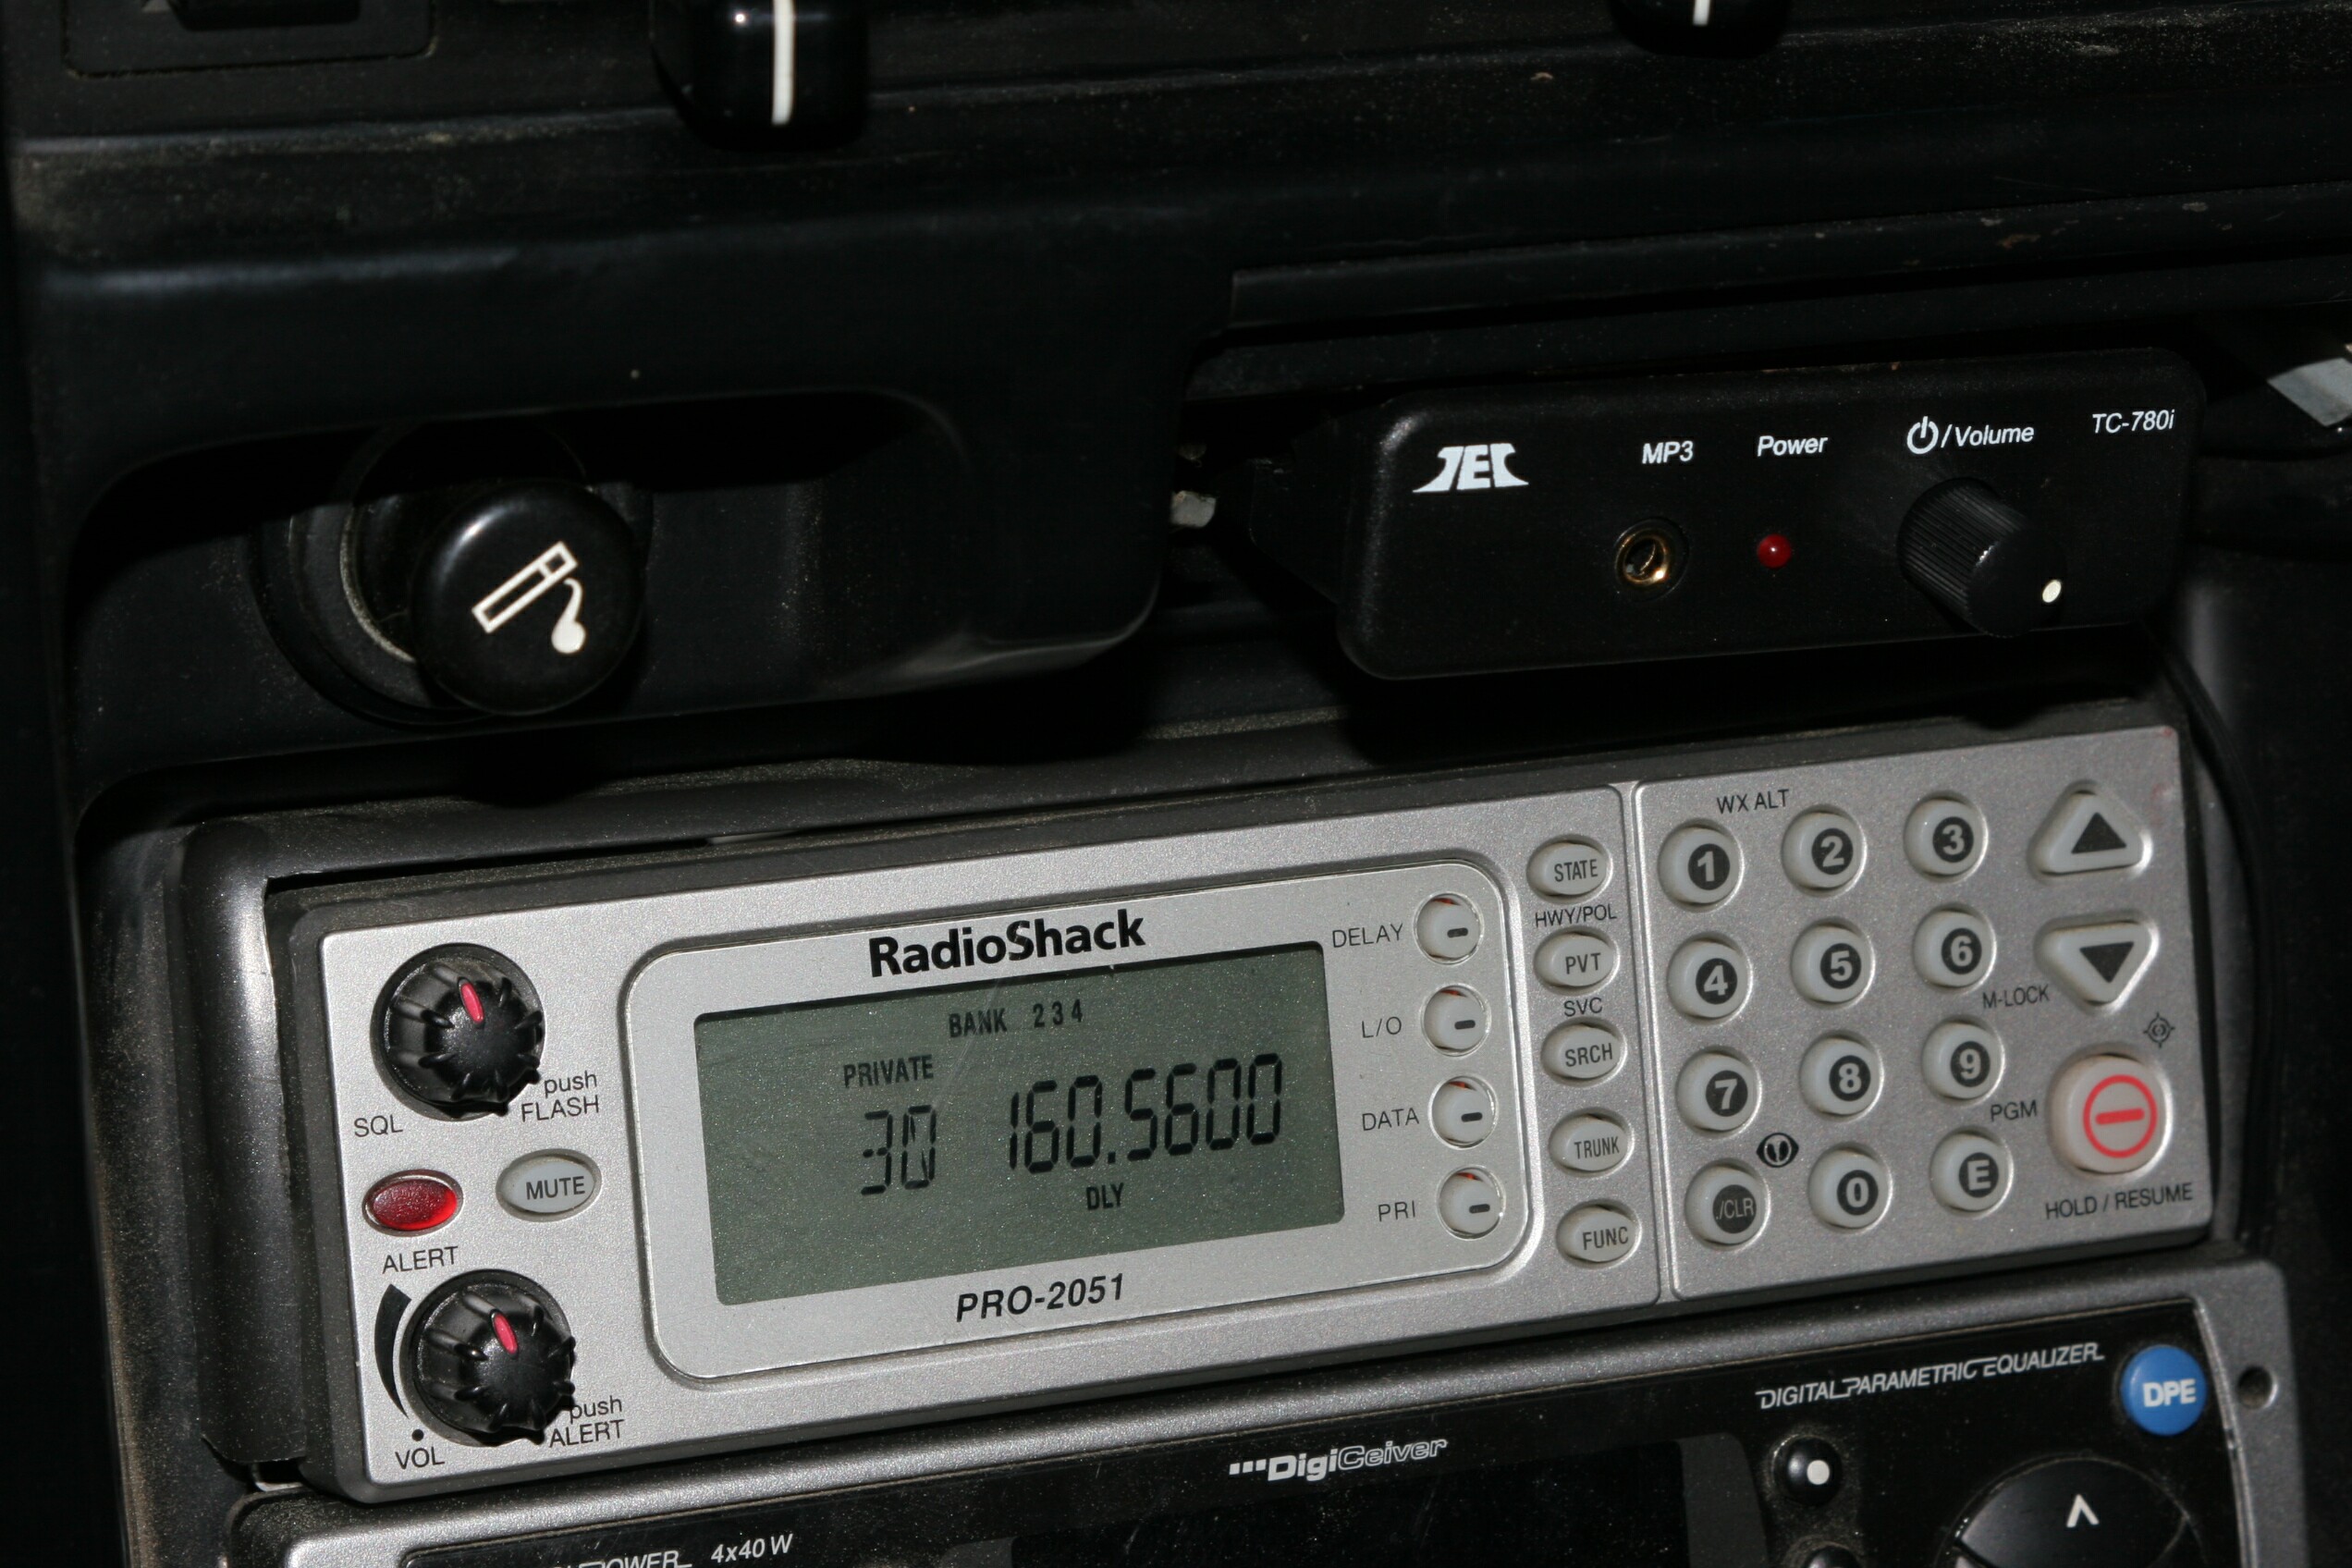
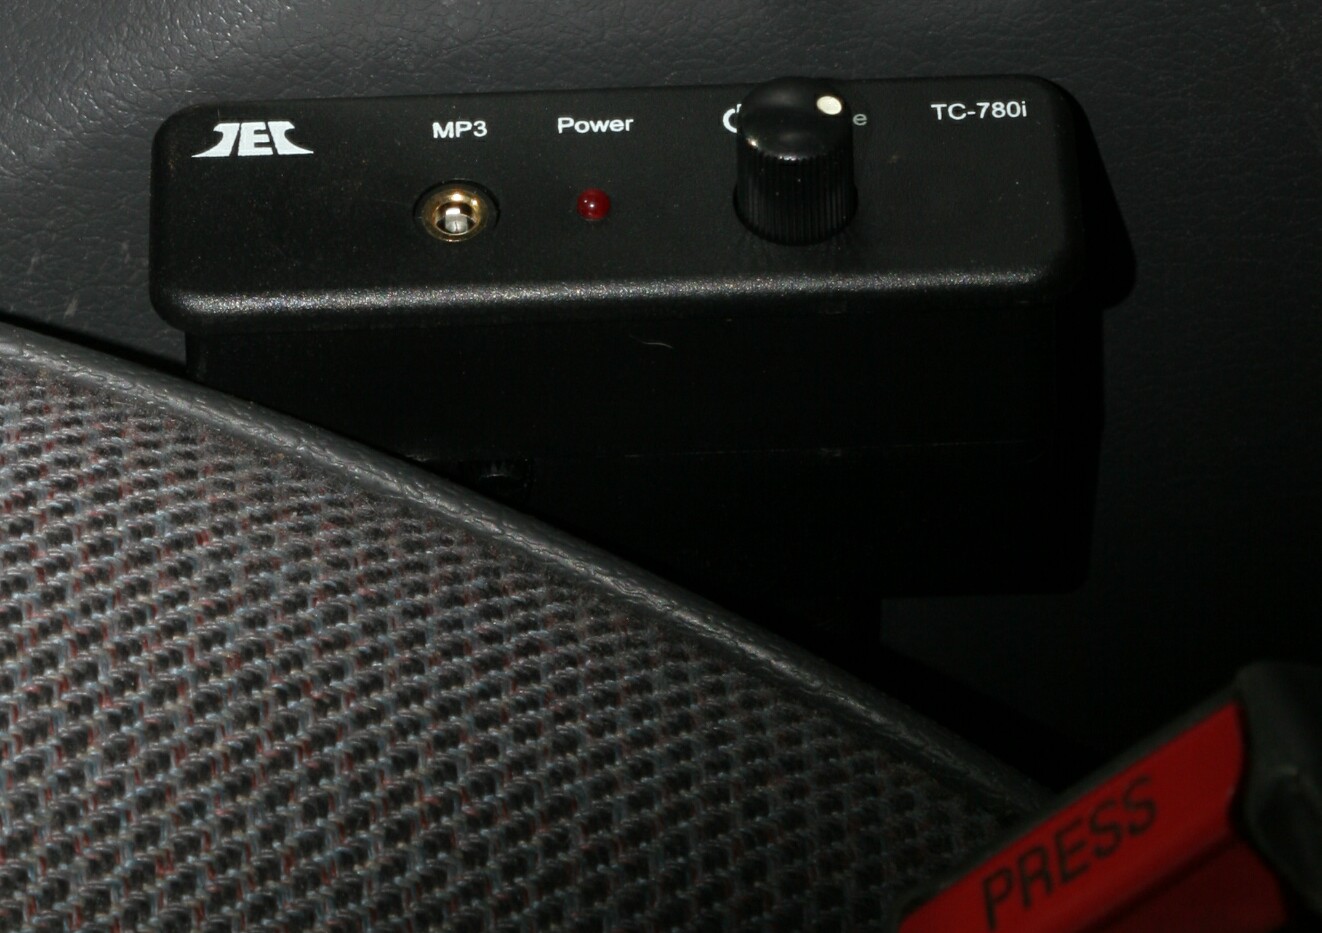
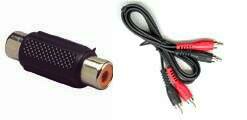
Mobile Connection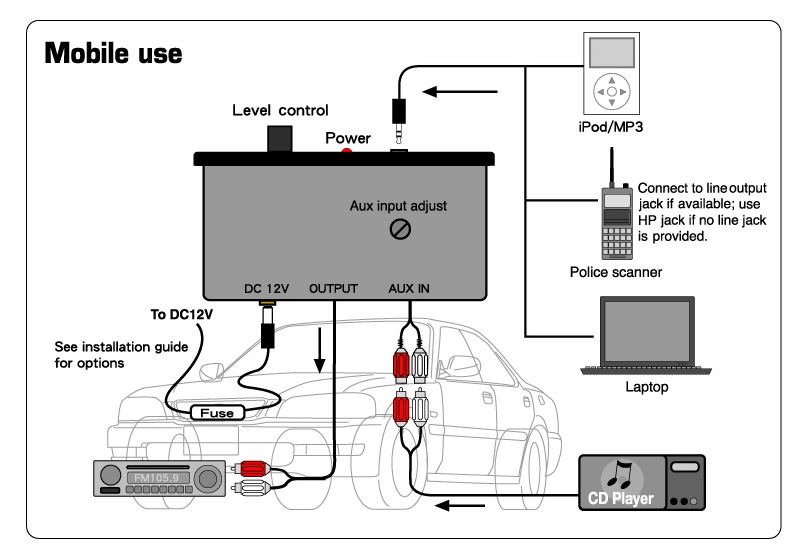 Always turn the vehicle off and remove the radio fuse before making connections. The TC-780i can be used with any car stereo that has a RCA jack AUX line input. Plug the TC-780i's output cable into the car stereo's input jacks. If these jacks are already in use (usually by a CD changer), disconnect and plug this cable instead into the TC-780i's rear input pigtail cord. Connect the supplied DC cord's negative (black) wire to ground. The positive (red) wire can be connected either to the car stereo's amp turn-on lead or power antenna lead; when wired this way, the TC-780i will power off and on with the stereo's power switch. Do not disconnect anything which is already connected to these leads; otherwise your amp or antenna may stop working. If neither of these options is available, connect the red wire instead to the same point to which the stereo's switched power lead is connected; this arrangement will provide power whenever the vehicle's ignition switch is on. You can choose to use the stereo's unswitched power lead connection point instead, but be careful to turn the TC-780i's power switch off when not in use to avoid running the vehicle's battery down. Finally, plug the DC cord into the TC-780i. and reinstall the radio fuse. See the TC-780i Gallery below for installation location and mounting ideas. 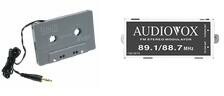 Don't have a car stereo with an AUX input? The TC-780i can be used with a cassette adaptor or RF modulator like the ones above to allow playing thru any car stereo that has a cassette deck or FM radio. If you are already using one of these with your iPod or MP3 player and find that it's annoyingly soft compared to the radio or when playing a tape, the TC-780i can fix this level difference. You'll need a couple of adaptors available at Radio Shack to connect to the output cable of the TC-780i. Stock numbers 274-883 and 274-886 used together will work with most cassette adaptors and many RF modulators. |
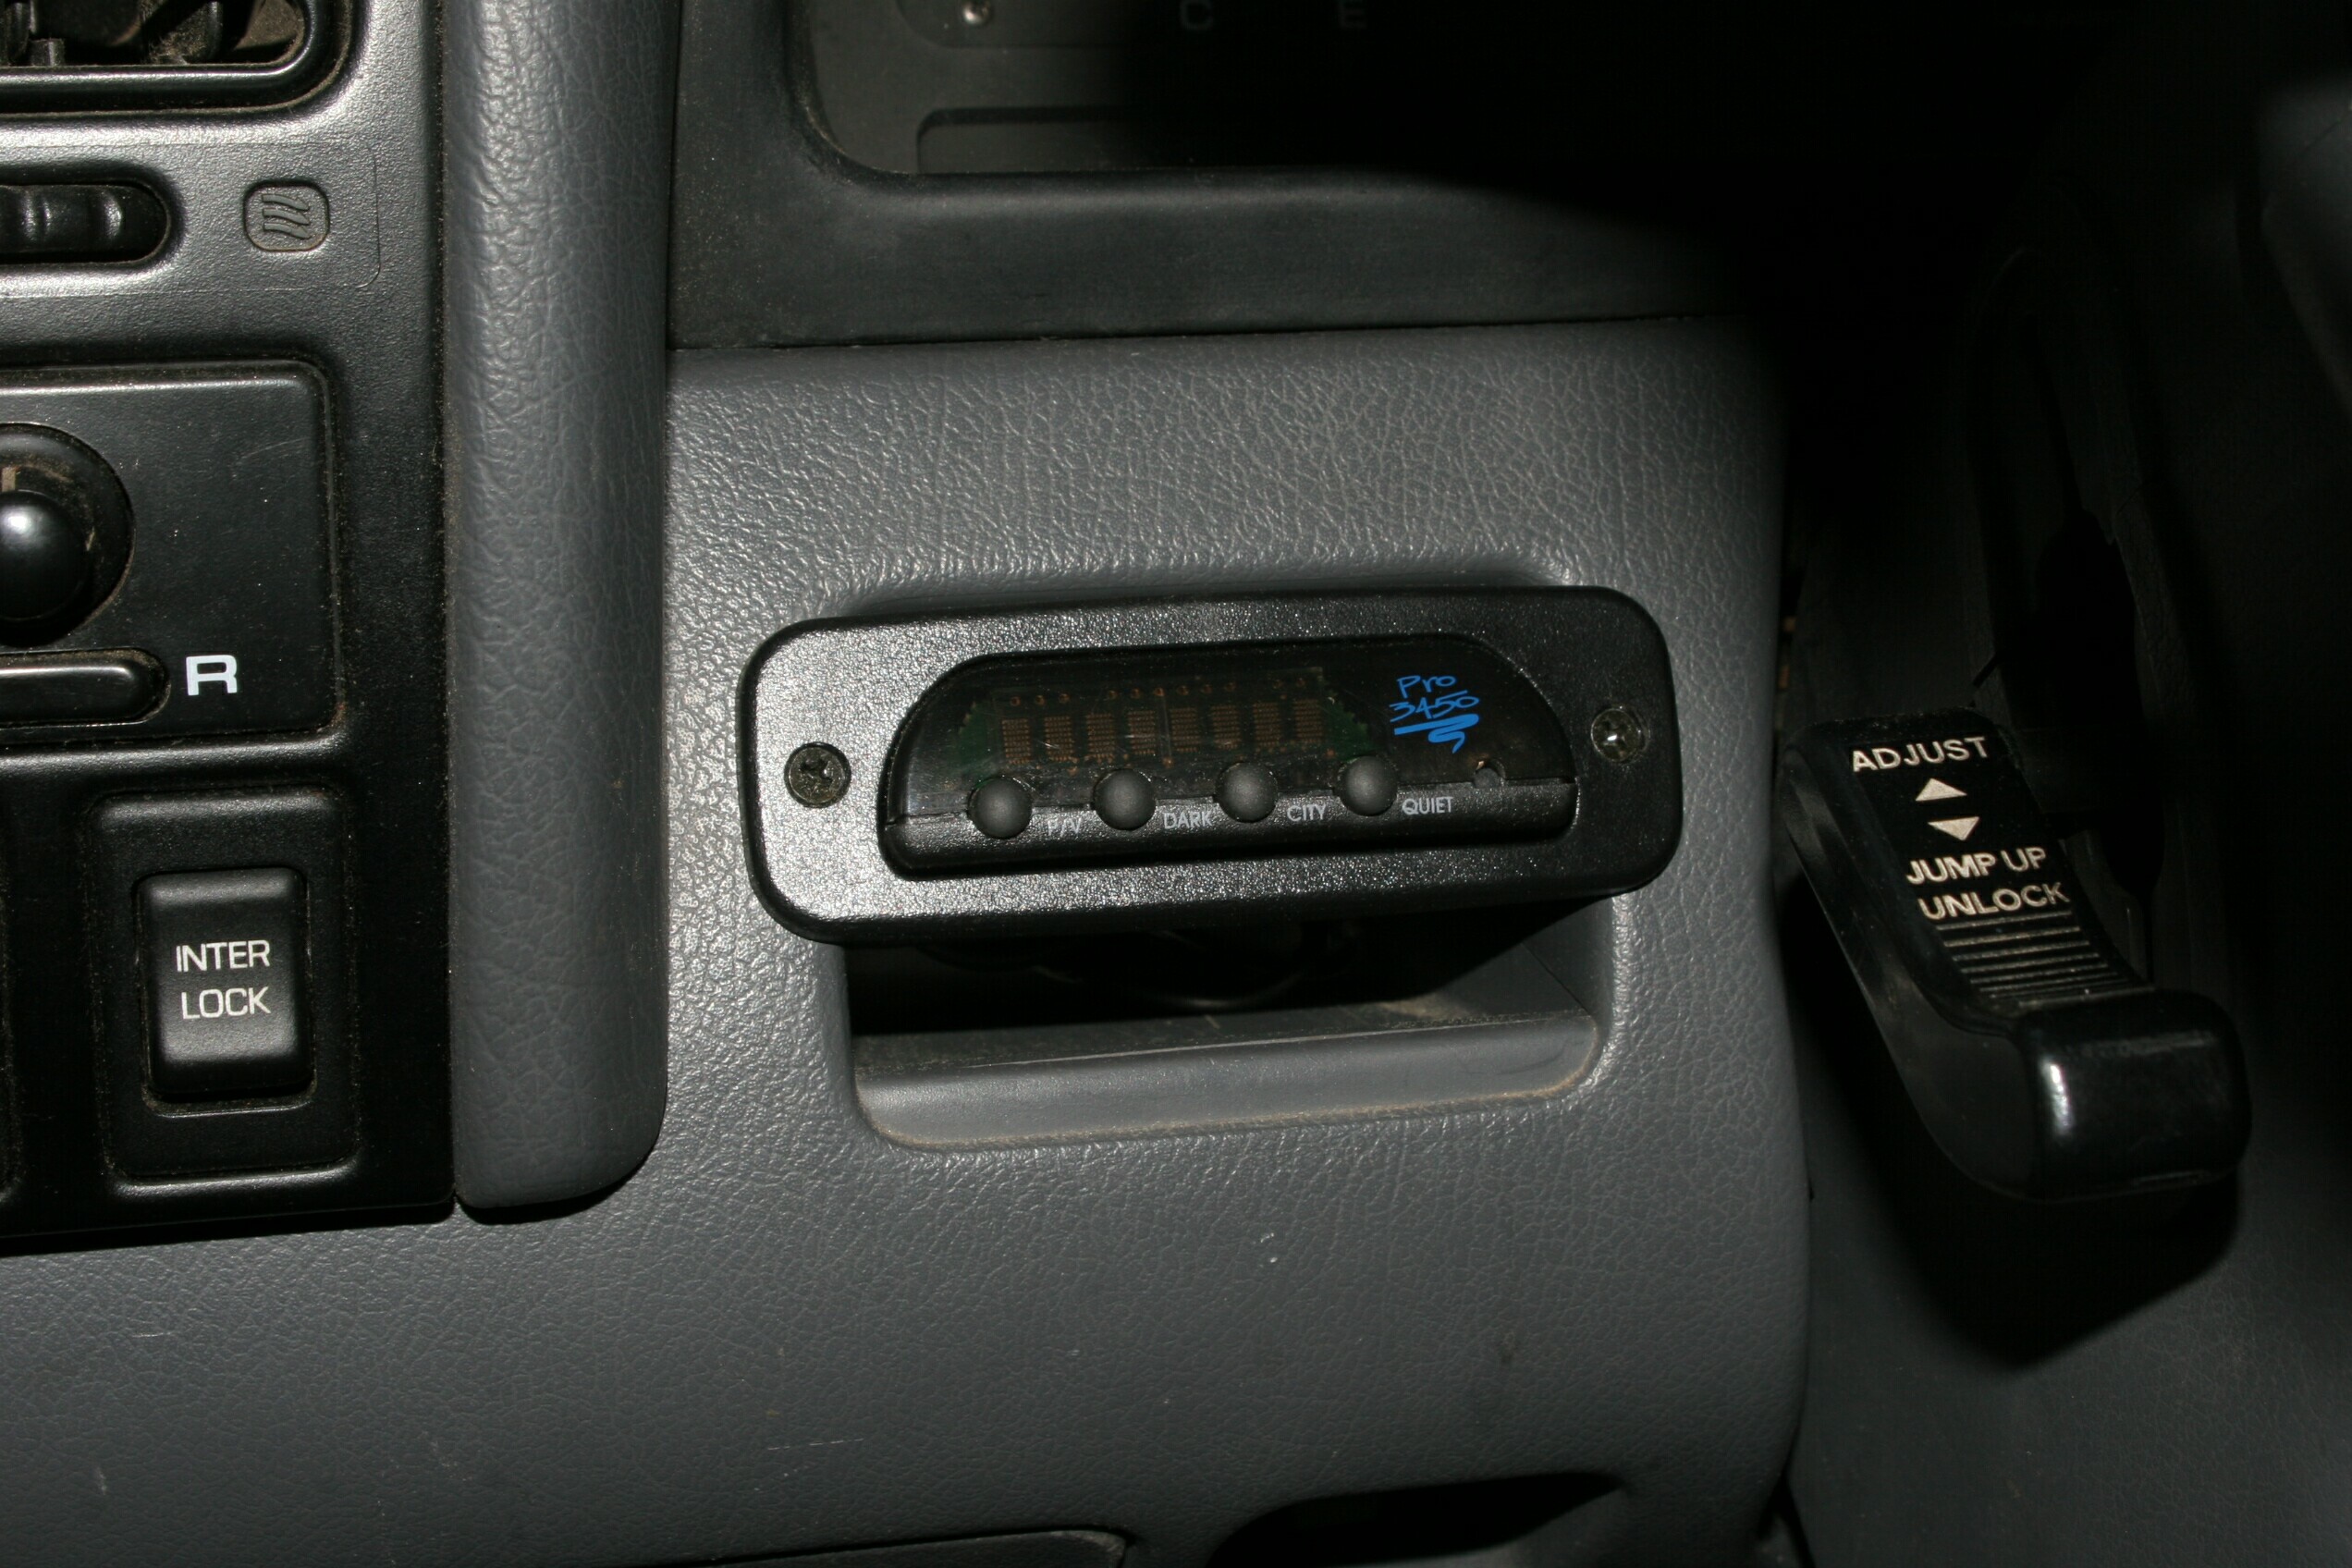
| Mobile Installation
Both the input and output cables can be extended if needed with
ordinary patch cords and butt splices like the ones shown at the bottom
of this page. The TC-780i comes with two front panels; the
installed one used for underdash and home installations, and another
for in-dash mounting. Changing panels is accomplished by removing the
volume knob (pulls off easily) and the two screws on the TC-780i's
rear. Slip the installed panel off and replace it with the other one,
then reinstall the knob and screws.
Installation under or on top of a dashboard requires picking a spot and using the supplied self-tapping screws to mount the bracket. If using a drill to facilitate making the holes be extremely careful not to penetrate anything but the dash material. The TC-780i mounts to the bracket using the supplied allen screws and wrench. Note that the unit can be swiveled in the bracket to suit different mounting needs, and that reversing the bracket provides more choices. In-dash installation requires cutting a hole the same size as the underdash (smaller) front panel; use it as a template to mark the hole, but be conservative; better to cut undersize and enlarge gradually to fit. Choose a flat or near flat area, and make sure there's nothing behind the dash that will be damaged or interfere. Once you have the hole cut, slide the TC-780i into the dash and mark the two mounting holes. Do not screw permanently in place until you've performed the adjustment procedure described at the right (you'll need access to the bottom trimmer control). |
Adjustment (Both Home and Mobile) After
turning your stereo's volume fully down, connect your MP3 player, iPod
or other audio player to the front jack on the TC-780i. If the player
has a line out jack, use it. If not, use the headphone jack, and set
the player's volume control to the middle of its range. Now set your
stereo's volume control to your usual listening setting, and
select the
input to which you've connected the TC-780i. Turn the level control on
the TC-780i slowly up to a level which provides approximately the same
volume produced by your stereo's other sources (such as CD or TUNER).
You may need to increase the player's volume setting somewhat if this
level cannot be achieved with the TC-780i's control alone. Finally, if
you've connected something to the TC-780i's rear input
(we'll call it SOURCE X), unplug the player from the front panel jack.
While listening to SOURCE X, use a small staight slot screwdriver to adjust theTC-780i's bottom trimmer control so that the level is similar to
that produced by other sources. When you are done, you should be able
to switch between SOURCE X, your portable player or your other inputs
without routinely having to readjust your stereo's main volume control.
|
|
Specs
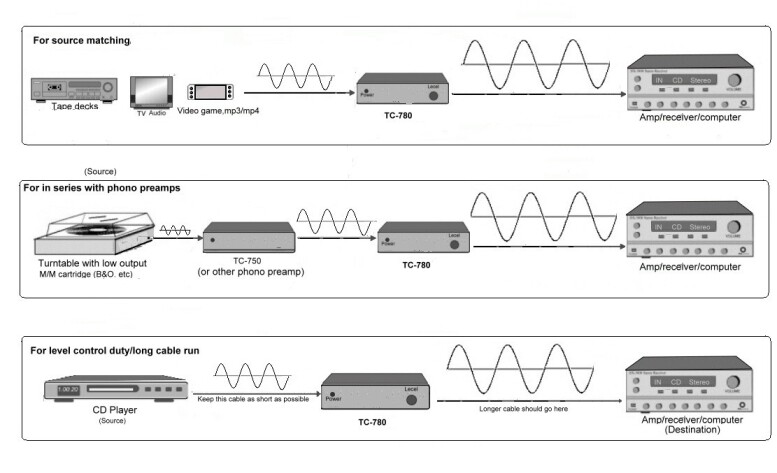
Other Usage Tips In addition to serving as a
convenient method to connect and level-match a portable player, the
TC-780i can also be used to improve the performance of other line level
sources when connected to the rear input. The three diagrams below show
how the TC-780i's additional gain can be used to compensate for weak
sources and long cable runs. Note that our larger TC-780LC model is
specifically designed for these applications; its higher maximum gain
may make it the better choice in circumstances where its size isn't an
issue and AC power is available (the TC-780LC cannot be used in a vehicle due to power supply design differences).
 |
The TC-780i measures 72mm long by 45mm deep by 20mm high (imagine a credit card with the thickness of a 9V battery). 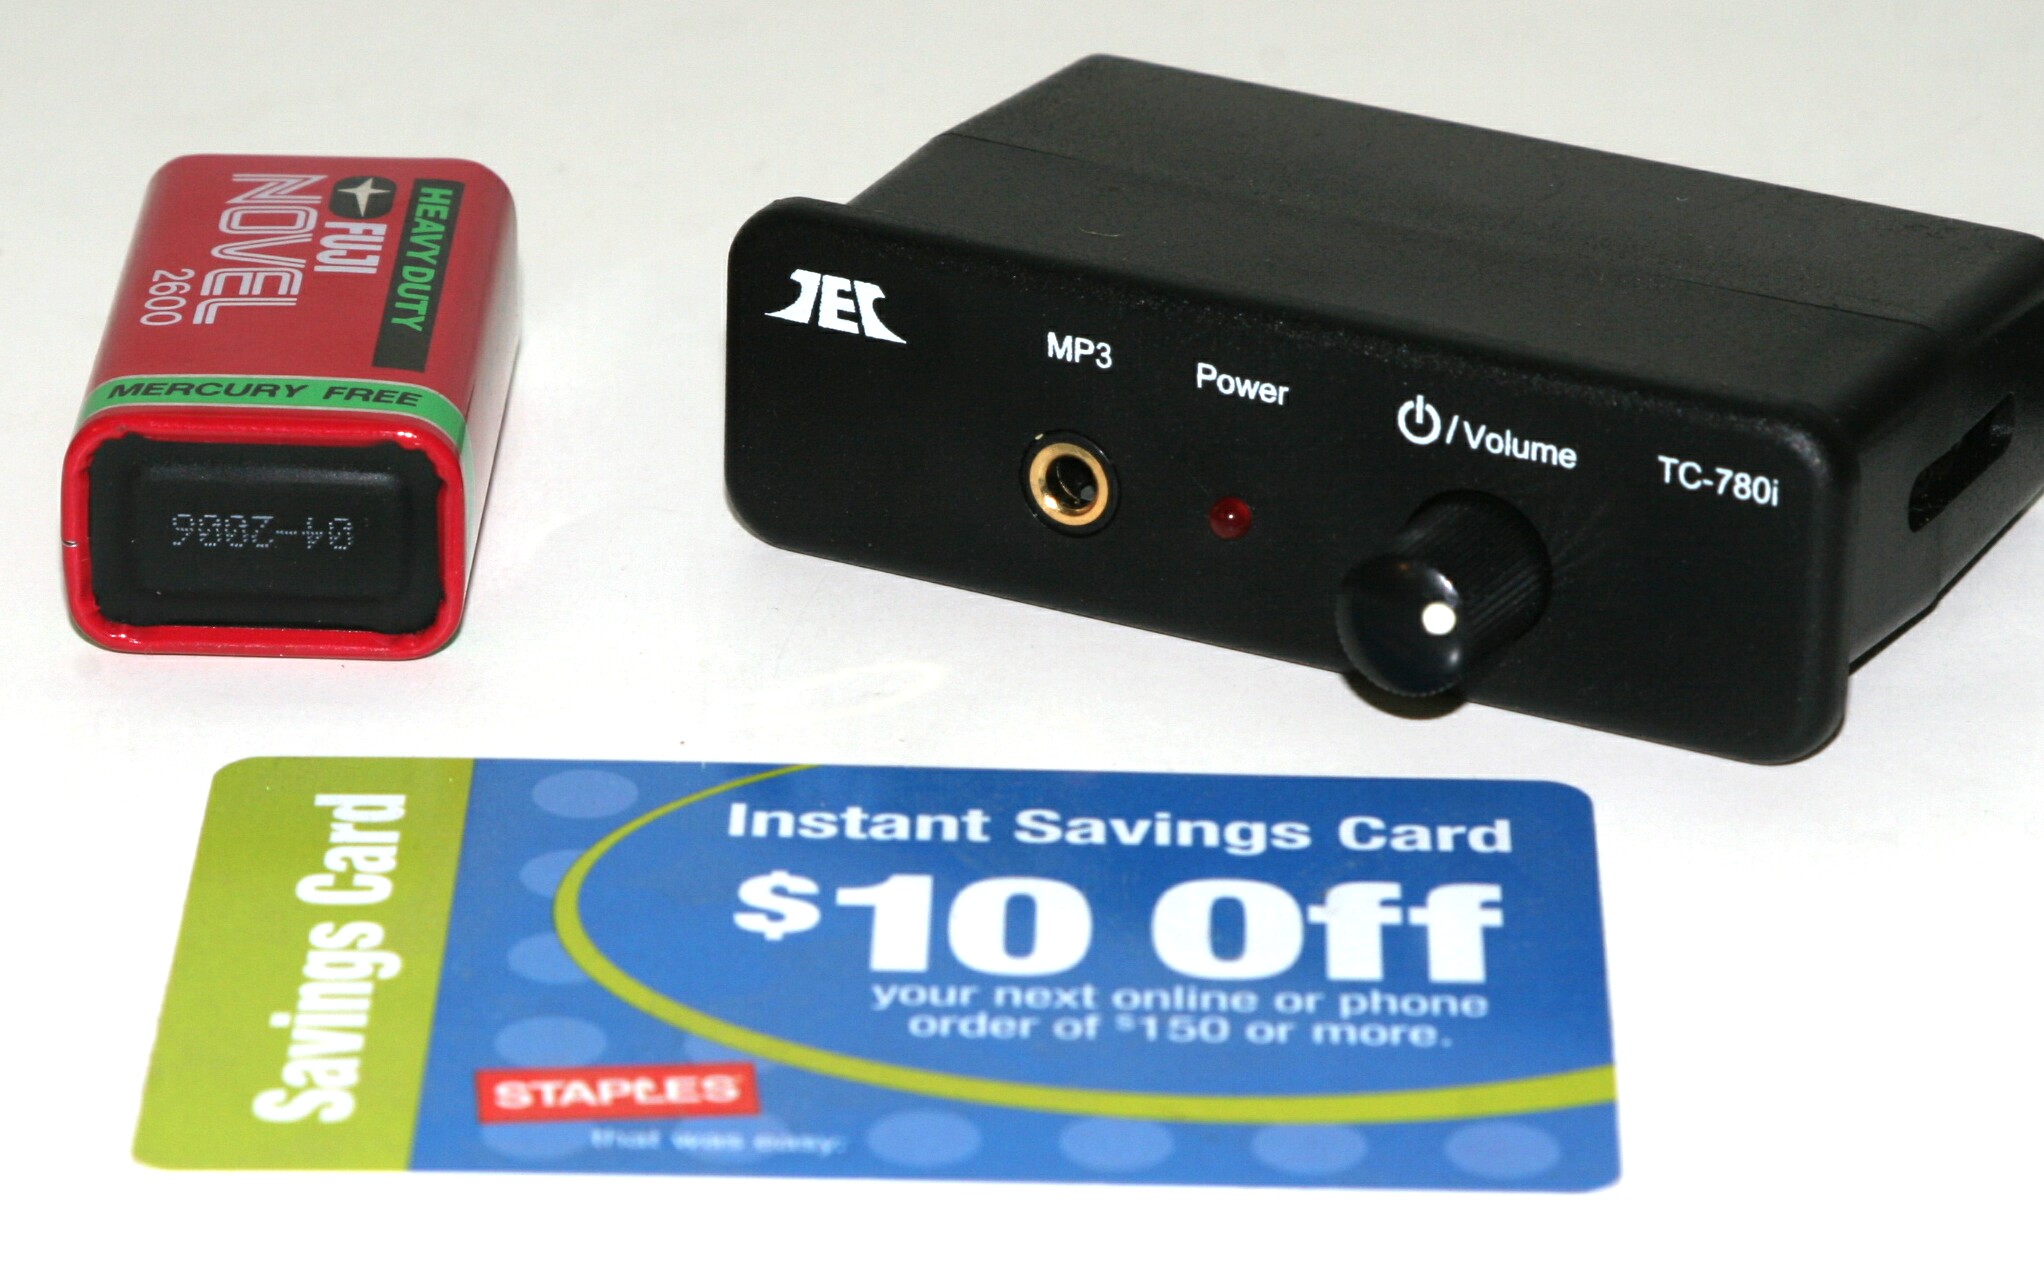 The under-dash front faceplate measures 75mm long by 22mm high. The in-dash front faceplate measures 94mm long by 30mm high. What's Included 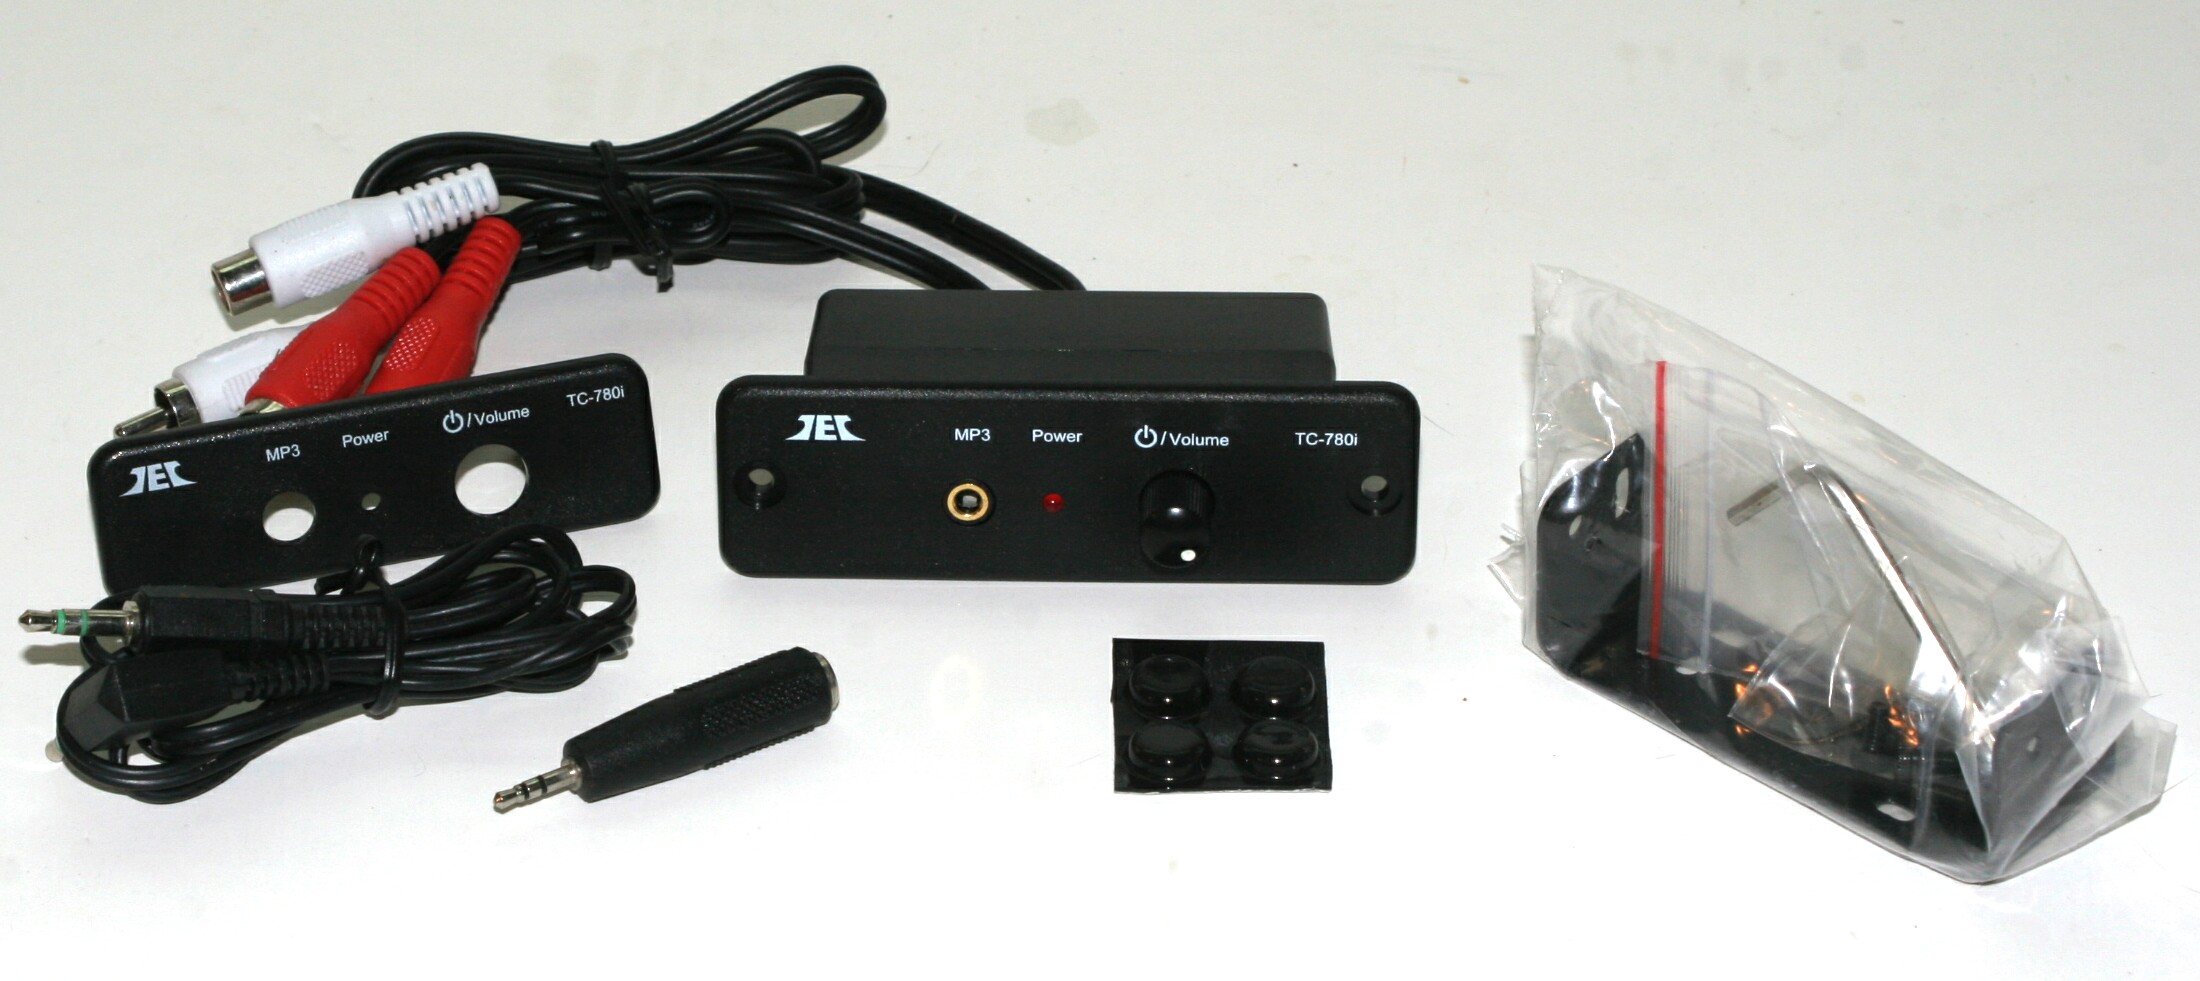
|